How to Configure Screenshot Settings in Berqun
Screenshot capture is an optional Berqun feature. It is switched on for your company during setup if you ask for it. If it is not enabled for your company, this page shows the message “Screenshot capture is not enabled for your company.”
To open the settings, go to Settings in the left menu and open Screenshot Settings under Agent Settings.
Turning on screenshot capture

- Turn on the Enable screenshot capture switch.
- In the confirmation dialog, choose the starting point for your current staff. Apply to all staff switches capture on for every current staff member and leaves it on by default for newly created staff. Apply to none (recommended) keeps capture off for every current staff member, so you can turn it on per user later.
- Click OK.
- Click Save changes at the bottom of the page. Your choice takes effect when you save.
Turning the switch off disables capture without a confirmation dialog. You still need to click Save changes to keep that change.
New users and image quality
Two more settings appear while capture is on.
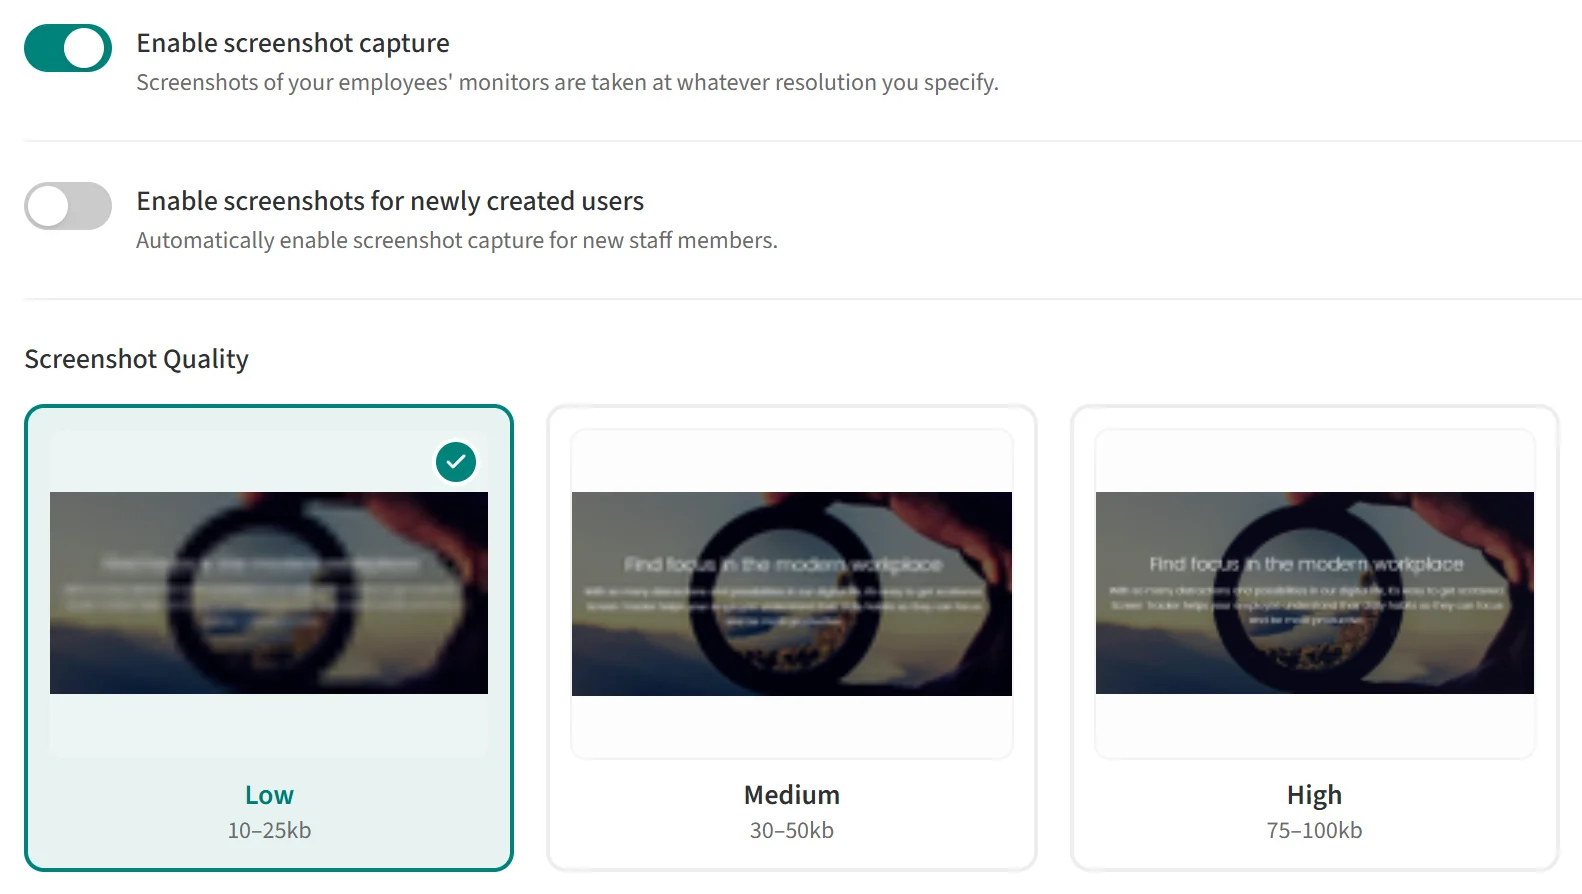
When Enable screenshots for newly created users is on, screenshot capture is switched on automatically for staff you add later.
Under Screenshot Quality you can pick Low, Medium or High. Each card shows a sample image at that quality and an approximate file size: Low 10-25 kb, Medium 30-50 kb, High 75-100 kb. Higher quality screenshots take up more storage.