Managing Productivity Requests
Employees can send a request to have a distracting activity counted as productive, or to have a time range added to their working time. These requests are collected on three pages in the Productivity menu: Pending Requests, Approved Requests and Declined Requests.
Next to each page title there is a dropdown that switches between Activities and Time Entries. The Advanced Options button opens the filters, and the button beside it exports the list to Excel.
Pending requests
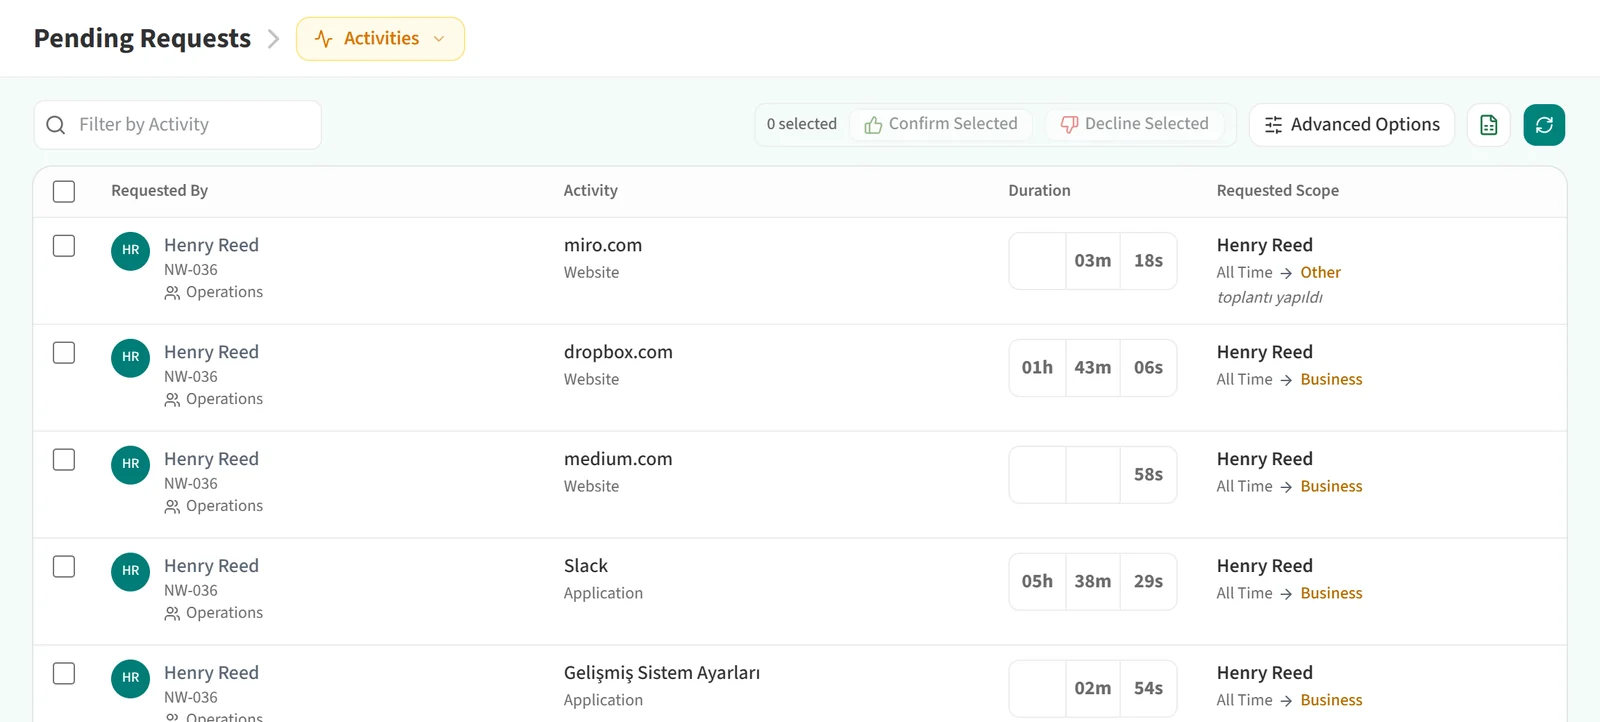
The Activities view of Pending Requests shows who sent the request, the activity and the duration. The Requested Scope column shows who the request is for, which period it covers and the reason given.
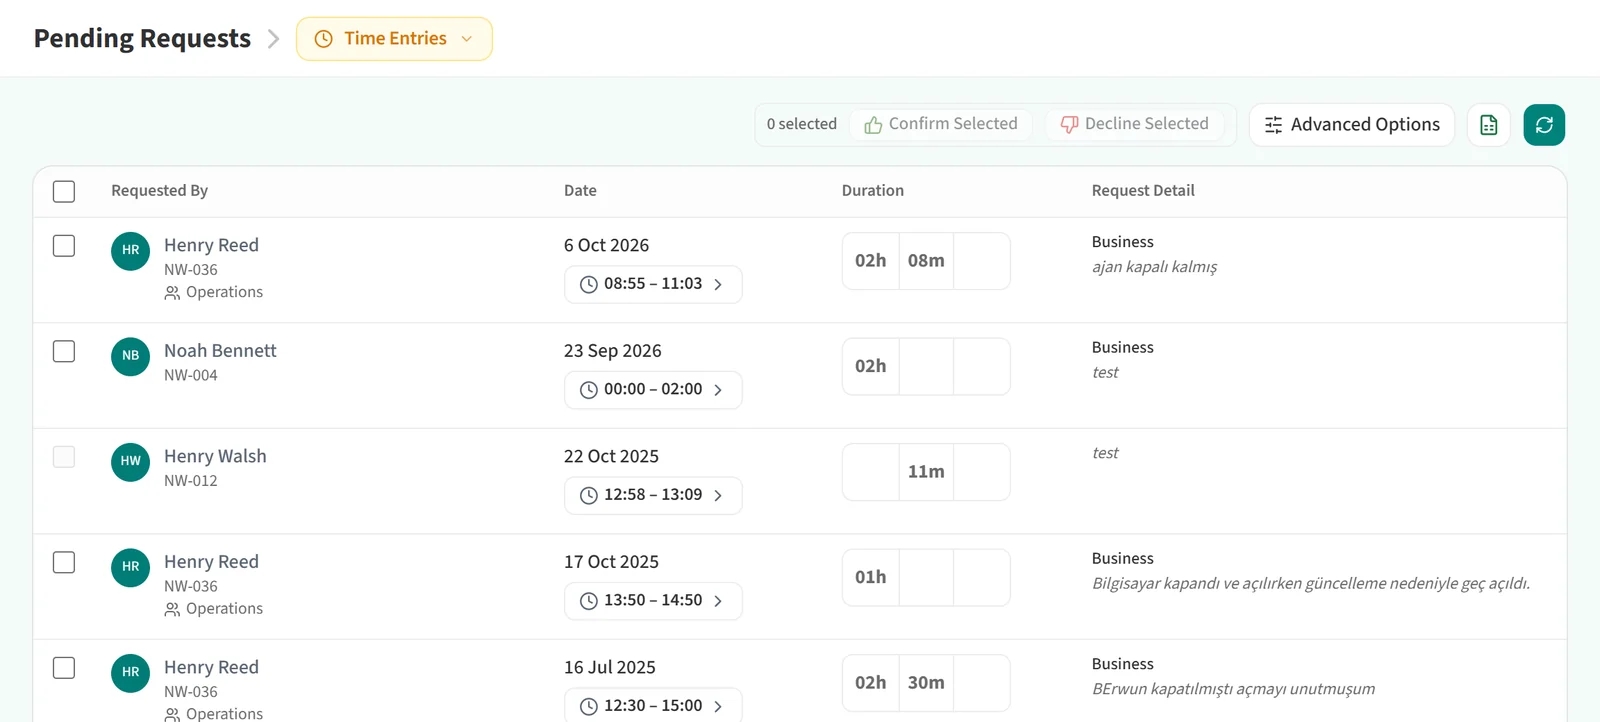
The Time Entries view shows the date and time range of each request, its duration and the Request Detail.
To handle a single request, open the … menu at the end of its row:
- Confirm: for an activity request, a window opens where you can change who the rule applies to and for which period, then approve it with Save.
- Decline: the Decline request window opens. Enter a reason and confirm.
To handle several requests at once, tick the boxes at the start of the rows, or use the box in the header to select them all. Then click Confirm Selected or Decline Selected.
For a request you sent yourself, the menu only offers Cancel.
Approved requests
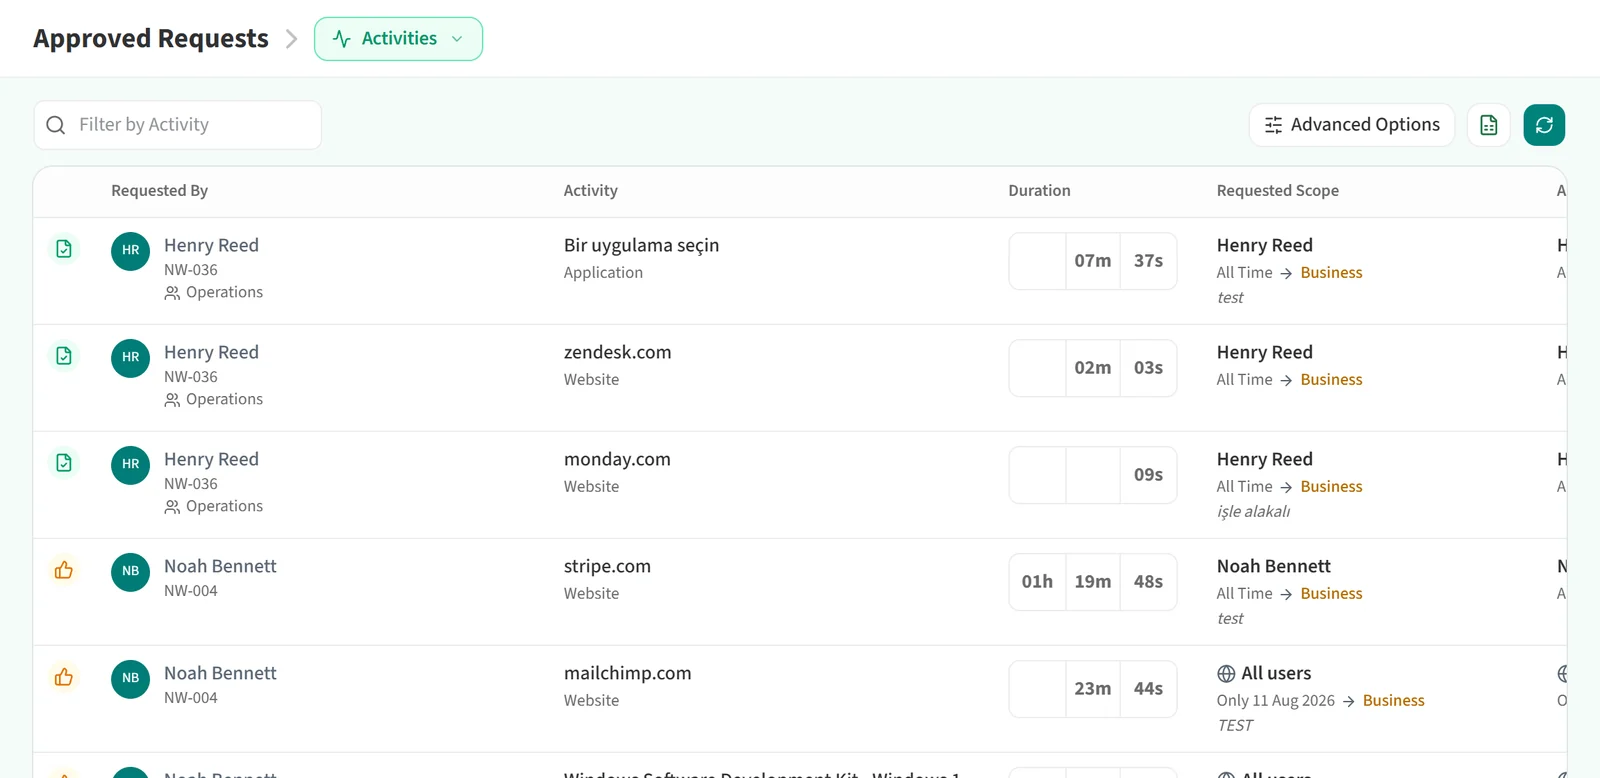
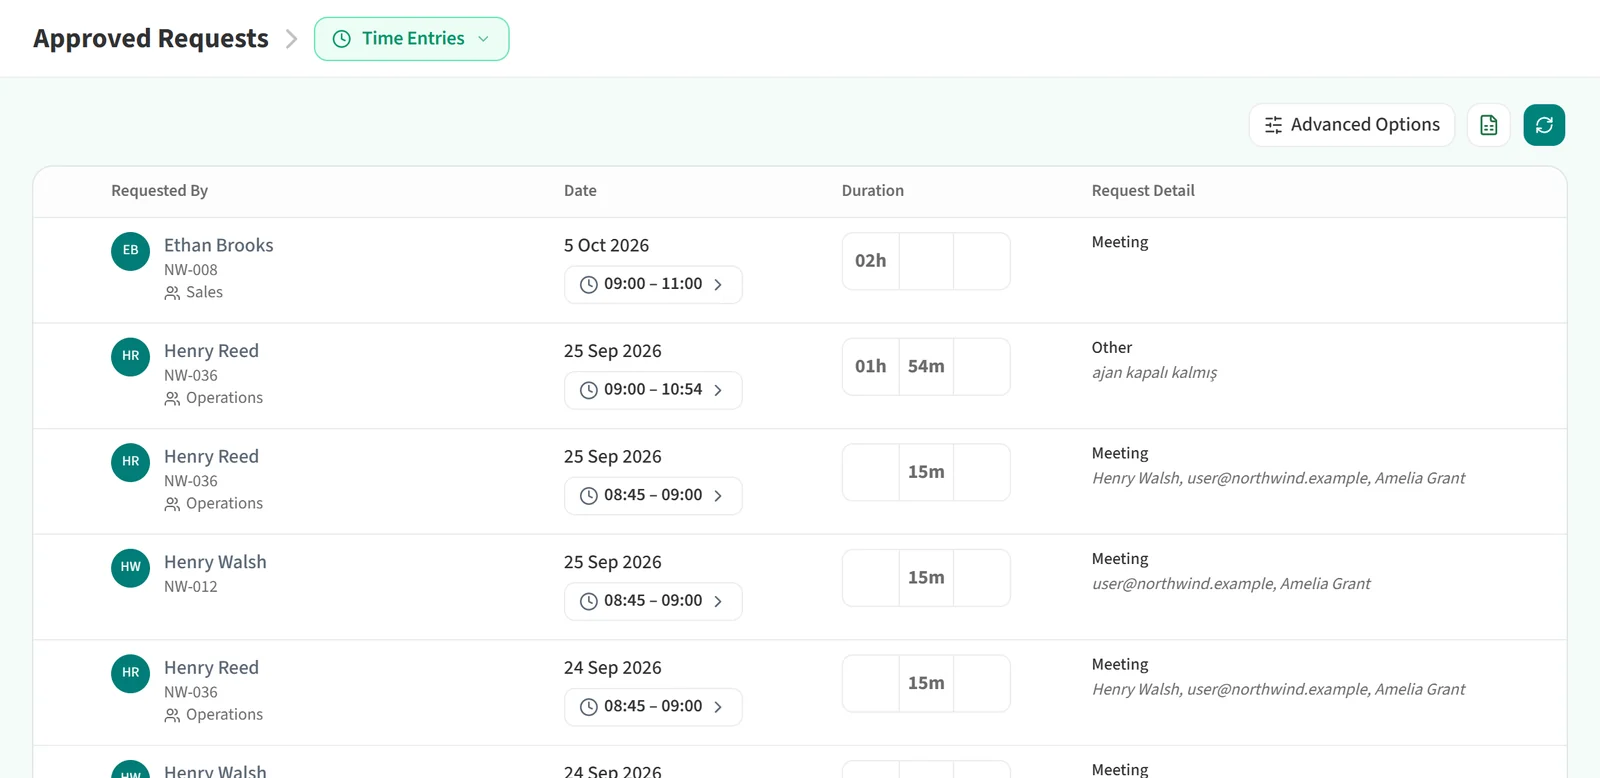
Approved Requests lists requests that have already been approved. For activity requests, the requested scope and the approved scope are shown side by side, so you can see whether the scope was changed during approval.
To reverse an approved time entry request, switch to the Time Entries view, open the row’s … menu and click Undo. The Undo Confirmed Request window asks you for a reason.
Declined requests
Declined Requests lists declined requests together with a Reject Reason column.
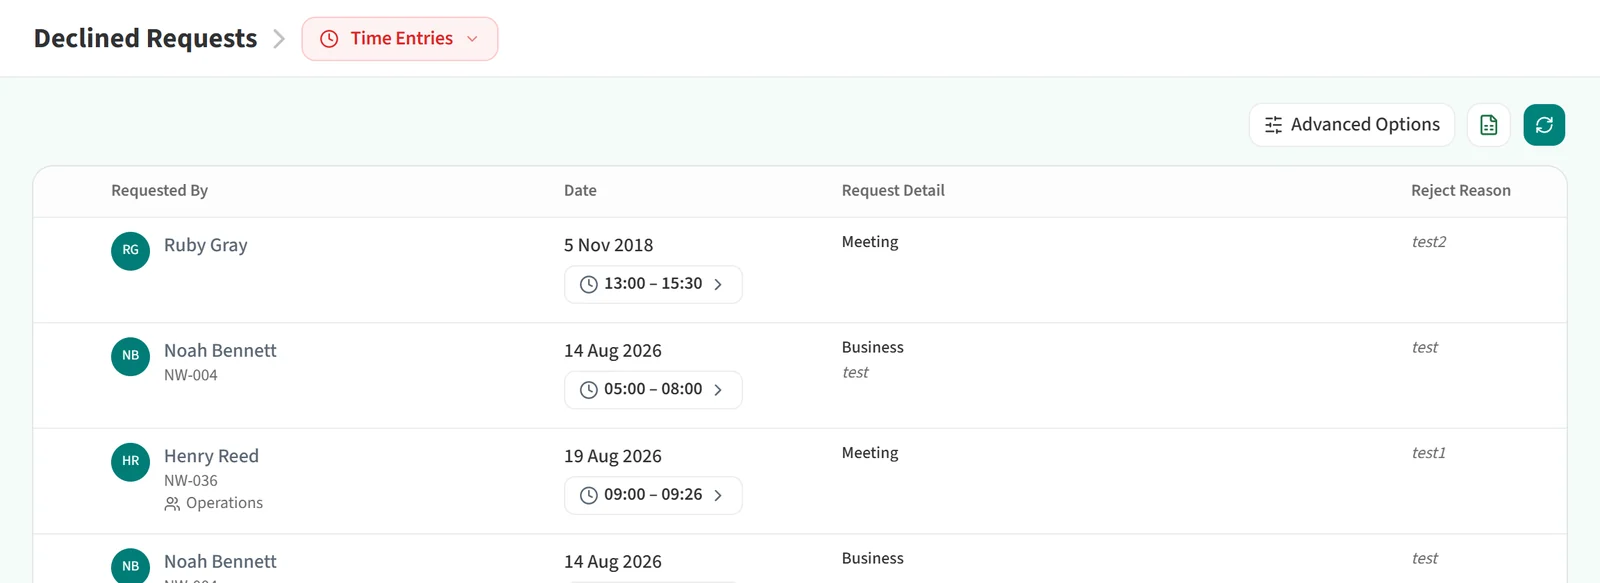
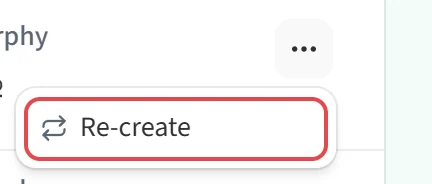
To create a declined request again, open the row’s … menu and click Re-create. If the request’s type is no longer offered, this option cannot be used and you need to create a new request instead.