
Employee List Actions
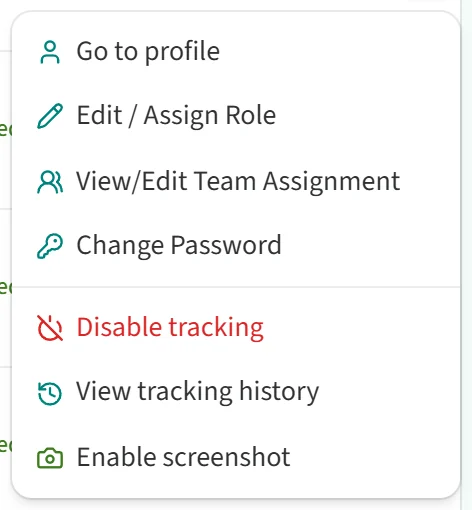
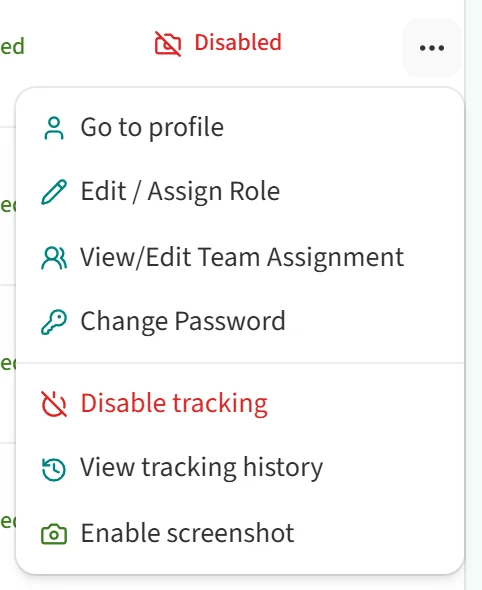
Each row of the staff list ends with a ”…” button in the “Actions” column. Clicking it opens the actions available for that employee:
- “Go to profile”: opens the employee’s profile page.
- “Edit / Assign Role”: edits the name, email and role.
- “View/Edit Team Assignment”: shows the teams the employee leads and the teams they belong to.
- “Change Password”: changes the employee’s Berqun login password.
- “Disable tracking” or “Enable tracking”: stops or restarts data collection by the agent for this employee.
- “View tracking history”: shows the periods during which tracking was on.
- “Disable screenshot” or “Enable screenshot”.
- “Make staff private” or “Make staff public”: shown only when your firm has the privacy feature.
The menu lists only the actions your role allows.
Editing and assigning a role
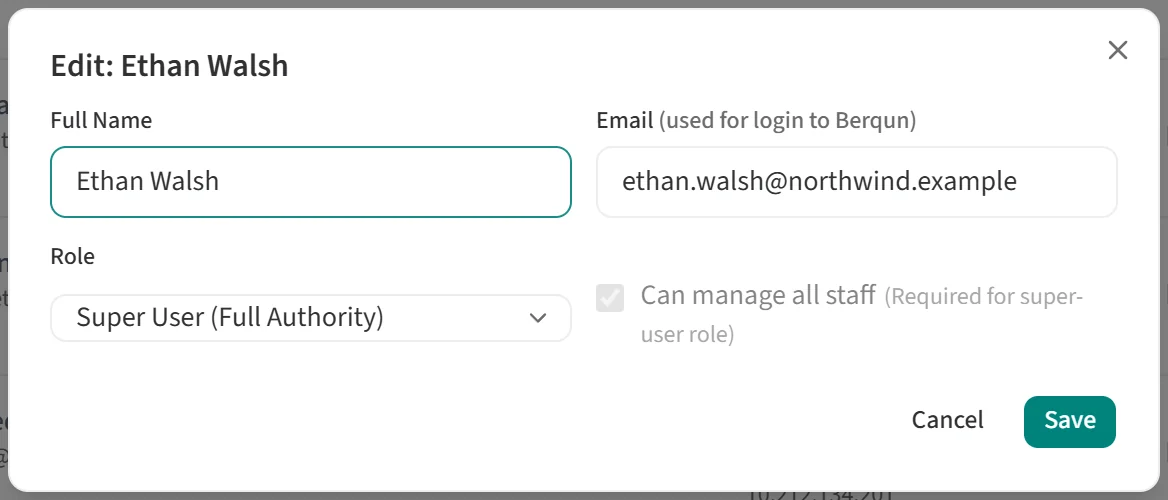
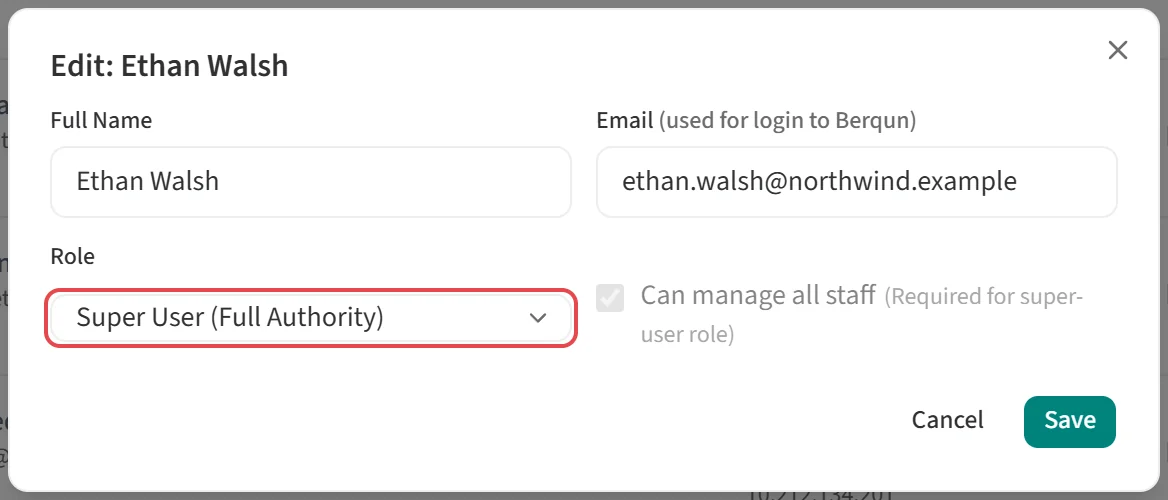
“Edit / Assign Role” opens the “Edit” window. Here you can change the employee’s “Full Name” and “Email” and pick a role from the “Role” list. The email address is the one the employee uses to log in to Berqun.
When “Can manage all staff” is ticked, the employee can see every staff member’s data. The super-user role requires it: the box is ticked automatically when you pick that role and cannot be cleared. Click “Save” to keep your changes.
If the employee should manage only certain teams, set that with “View/Edit Team Assignment”. The upper part of the window lists the teams the employee leads, and the lower part the teams they are a member of. With the right permission you can add teams to either part and edit or remove existing assignments.
Changing the login password
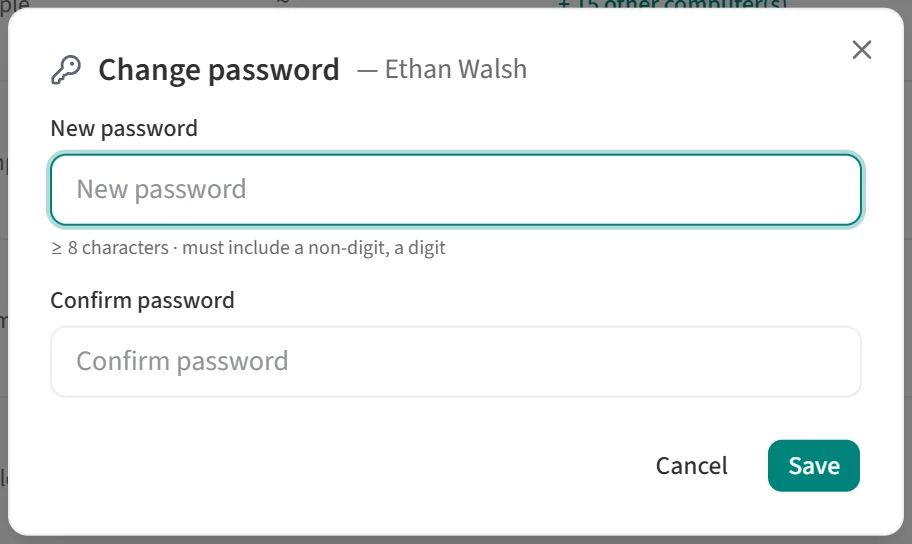
“Change Password” opens the “Change password” window. Type the new password into “New password” and “Confirm password”, then click “Save”. The rules the password must meet are shown just below the field.
Stopping and starting tracking
The Berqun agent runs on the employee’s computer and collects activity data. When you click “Disable tracking”, a confirmation window opens. Once you confirm, the agent stops collecting data for this employee, and no data is recorded while tracking is off.
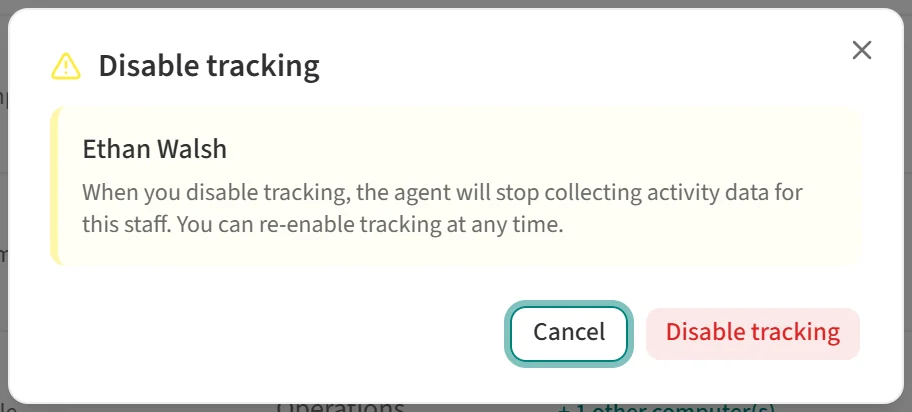
For an employee whose tracking is off, the same menu shows “Enable tracking” instead. Confirm it and tracking starts again.
“View tracking history” lists the employee’s tracking periods with their start and end dates. You can edit periods that have an end date, and add a new period with “Add new history record”.
Turning screenshots on and off
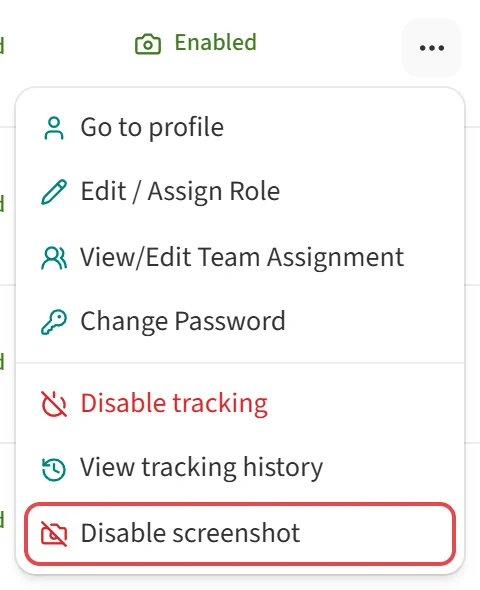
If your firm uses the screenshot feature, the Berqun agent can take screenshots of the employee’s computer at intervals. You can change this setting for each employee. The “Screenshot” column in the list shows whether it is “Enabled” or “Disabled” for that person.
To stop taking screenshots, choose “Disable screenshot” from the menu and confirm. The employee’s screen is no longer captured from then on.
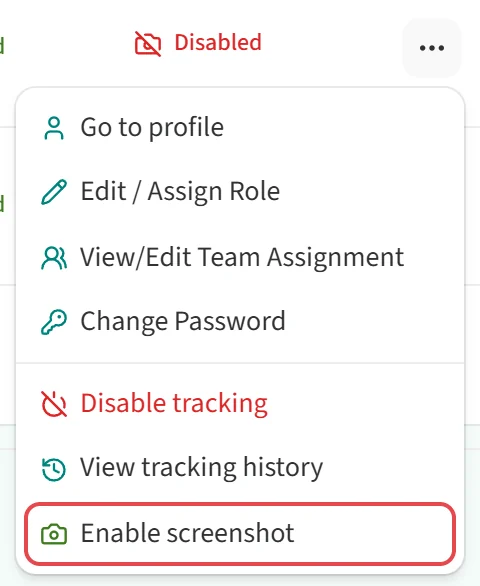
For an employee with screenshots off, the menu shows “Enable screenshot”. Confirm it and screenshots are taken at intervals again.
These options appear only for employees who have the Berqun agent installed and are being tracked.
Making an employee private
If your firm has the privacy feature, the menu includes “Make staff private”. Private staff are hidden from non-managers throughout the app. To make the record visible again, use “Make staff public” from the same menu.